REVIEW · KANDY
Kandy: Interactive Batik Workshop
Book on GetYourGuide →Operated by Soul Sri Lanka · Bookable on GetYourGuide
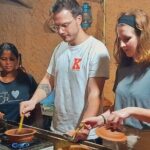
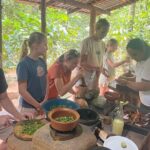
Batik in Kandy is an art you can actually touch. This interactive workshop teaches traditional wax batik step by step, in a small group setting at 218/6 Thalapiyannawa Rd, Ampitiya. You’ll work with local hosts, including Anuja and her daughter Manugi, who guide you through the process in clear English.
I like two things a lot. First, you’re not just watching—you pick fabric, design your pattern, and use the real tools (like the tjanting and stamping methods) to make your own piece. Second, the session includes a refreshing herbal tea, and the family’s warm welcome makes it feel more like a creative home visit than a rushed class.
One drawback to plan for: the location can be tricky to find, so you’ll want comfortable clothes and a backup outfit just in case wax or dye ends up where it shouldn’t.
In This Review
- Key highlights to look forward to
- Batik in Kandy: why this workshop feels different
- Meeting at Ampitiya: getting there without wasting time
- First steps in the workshop: fabric choice and design planning
- Wax batik tools: tjanting, stamping, spraying, and crackle effects
- Dyeing section: napthol, vat, and reactive dyes in plain language
- Finishing and dewaxing: burning and wax boiling
- What’s included, and why $28 makes sense here
- Who this workshop suits best (and who should skip it)
- Small-group energy: what you’ll notice in the teaching style
- A few practical tips so your cloth looks better
- Should you book Kandy Interactive Batik Workshop?
- FAQ
- Where does the workshop meet in Kandy?
- How long is the batik workshop?
- How much does it cost?
- What’s included in the price?
- Is the workshop taught in English?
- Is it suitable for pregnant women or people with back problems?
- What should I bring?
Key highlights to look forward to
- Hands-on batik from start to finish: wax, apply dyes, then finish with dewaxing so your design actually shows
- Real tools and techniques: funnel/pressing tools, tjanting, Henry tool, plus stamping and cracking effects
- Dye variety you’ll hear about directly: napthol dyes, vat dyes, and reactive dyes
- You choose your design path: go fully creative or use templates/stencils for guidance
- Friendly English instruction in a group capped at 10: easier to ask questions and get corrections
Batik in Kandy: why this workshop feels different
Kandy already has plenty to do, but batik gives you a quieter kind of connection. Instead of switching between temples, markets, and viewpoints, you sit with a craft that runs on patience, planning, and small decisions. That makes the 3.5 hours feel focused rather than hectic.
What I especially like is that batik is explained as a process with cause and effect. Wax acts like a resist, so what you draw and seal determines what the dyes can reach. Then, when you move into dyeing and finishing, you see how different dye systems behave—so the final look isn’t magic. It’s technique.
You’ll also benefit from the family setting. Anuja and Manugi’s teaching style shows up in the way guests describe the workshop: clear steps, plenty of encouragement, and help when something goes off-script.
More Batik & Craft Workshops in Kandy & Sri Lanka's Hill Country
Meeting at Ampitiya: getting there without wasting time
The studio address is 218/6 Thalapiyannawa Rd, Ampitiya. This matters because Kandy roads can confuse even confident navigation apps, and a few guests noted it can be hard to pinpoint.
Here’s how to make this painless:
- Ask your tuk-tuk driver to follow directions from the start, and be ready to show the address clearly.
- If you’re early, don’t worry—people around the area can help point you the last stretch.
- Build in a little buffer time so you arrive calm, not rushing into a wax-and-dye session.
Transportation isn’t included, so you’ll need your own tuk-tuk/taxi plan.
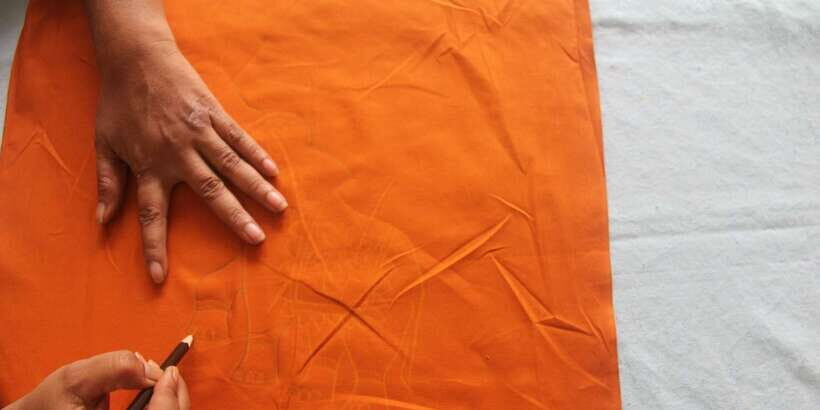
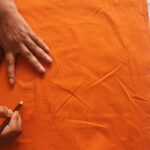
First steps in the workshop: fabric choice and design planning
The workshop usually starts with a quick setup and guidance so you can begin immediately. You’ll select your fabric, because batik results depend on what you’re working with. Then you’ll learn about wax mixtures and waxing techniques—basically, how to build patterns that dyes can’t reach.
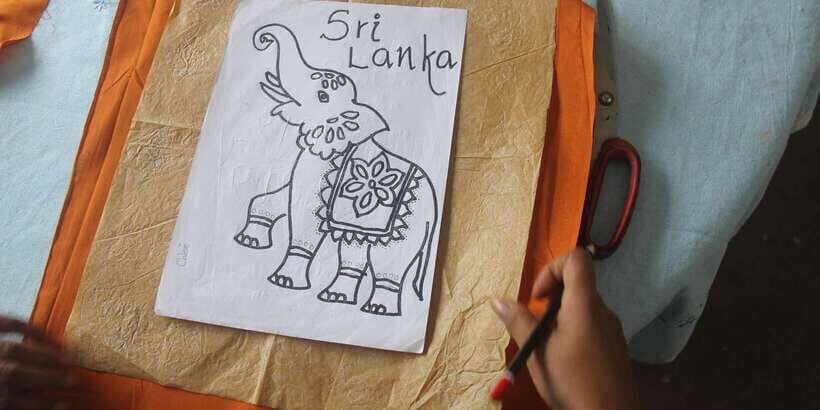
Once you have a fabric picked, you’ll move into design. Guests have had two approaches:
- Create freely and make your own pattern.
- Follow a stencil or template if you want guardrails.
If you want something memorable, consider designing a personal motif or even practicing a name-style detail. Several guests mentioned writing names in Sinhalese, which turns the final cloth into something you’ll actually want to keep.
The workshop is taught in English, and the group is limited to 10. That small size is a real advantage. You’re more likely to get hands-on corrections instead of waiting for general instructions.
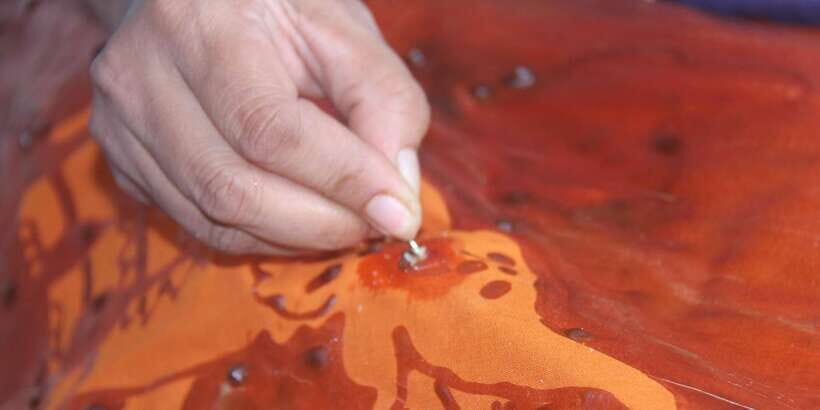
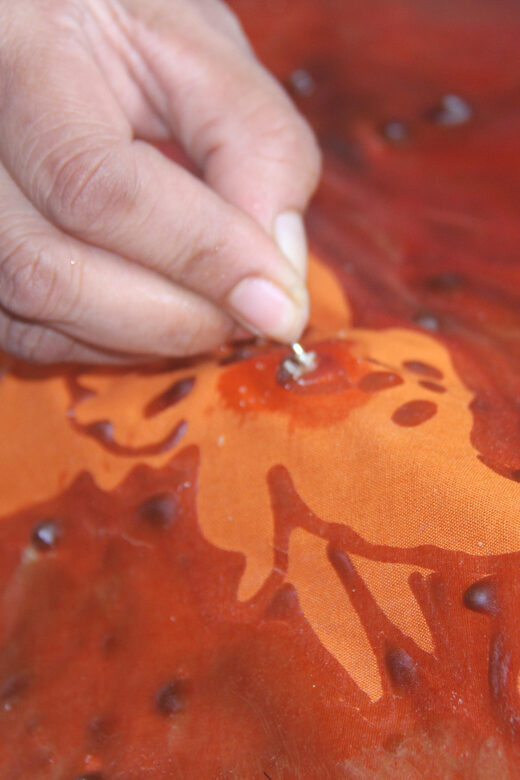
Wax batik tools: tjanting, stamping, spraying, and crackle effects
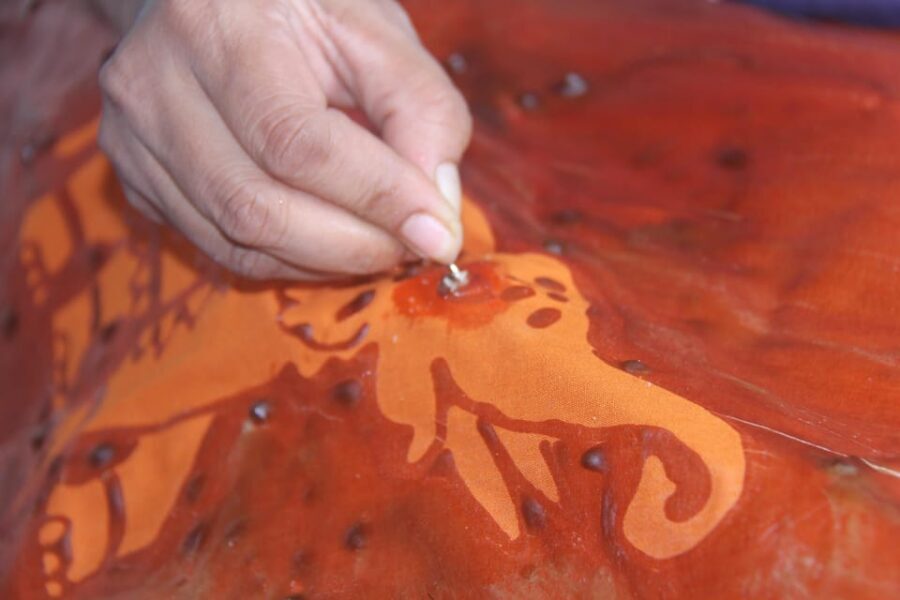
This is where batik becomes real craft, not just artsy coloring.
You’ll work with multiple tools, including:
- Tjanting (a wax-drawing tool)
- A funnel method for wax application
- The Henry tool
- Stamping, spraying, brush arts, cracking, and wax designing techniques
Each tool creates a different line quality or texture. For example:
- Drawing tools help you control edges and fine details.
- Stamping and other patterned methods create consistent shapes faster.
- Crackle and other texture techniques can make your cloth look layered even when the design is simple.
Also, you’ll hear about wax mixtures and how waxing techniques affect the outcome. That’s valuable because it helps you understand why one area takes dye differently than another.
A practical note: wax work is close-up and slow. Expect to take your time. If you rush, lines wobble and wax can blur.
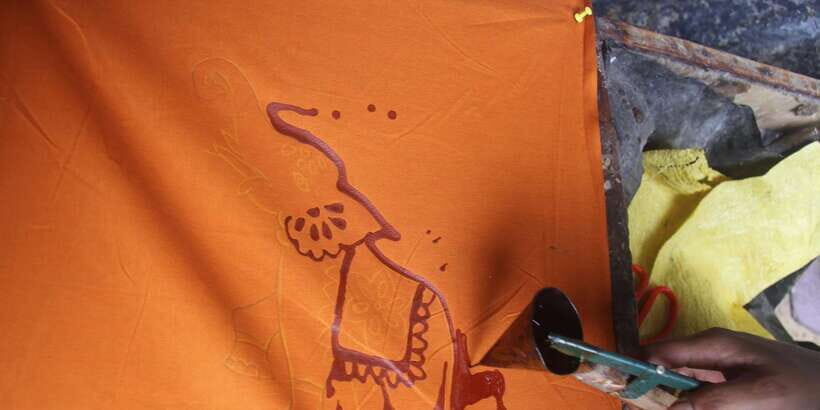
Dyeing section: napthol, vat, and reactive dyes in plain language
After the waxing stage, the workshop shifts into dyes and dye application. You’ll learn about dye mixtures and how different dye types work, including:
- Napthol dyes
- Vat dyes
- Reactive dyes
You don’t need a chemistry degree to enjoy this part. The key value is that the instructor connects dye behavior to the wax resist. So even if you don’t master every chemistry term, you’ll understand what you’re trying to achieve: dye reaches the places where wax didn’t block it.
This portion is also where your design starts to become a finished artwork. Up until now, it can feel like you’re building a map. Dyeing turns that map into color.
One more thing: because you’re learning in a small group, it’s easier to ask questions if you’re unsure about timing or how to apply dye evenly. With 10 participants max, your instructor isn’t managing a crowd.
A few more Kandy tours and experiences worth a look

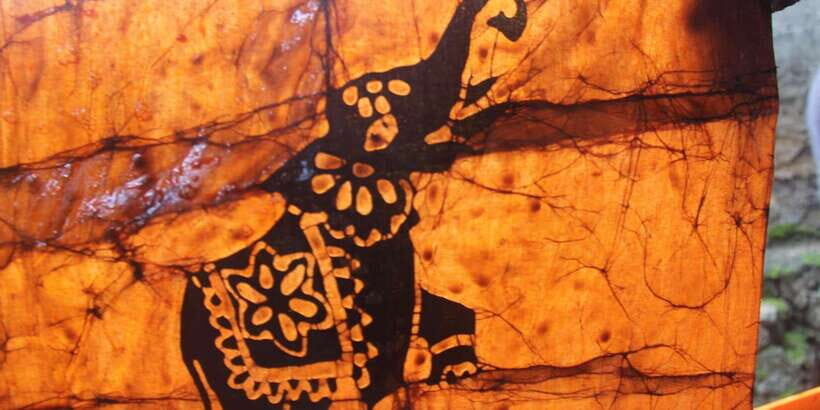
Finishing and dewaxing: burning and wax boiling
The last step is finishing, when you remove the wax so your pattern shows clearly. You’ll learn about wax burning and wax boiling—also known as dewaxing.
This part can be the most satisfying, because it’s the moment your earlier work finally reveals itself. If your wax lines were sharp, you’ll see crisp barriers. If your texture was intentional, the final cloth can show interesting contrast.
And yes, dewaxing is messy by nature. That’s why the comfort-and-clean-clothes advice matters. Plan for a hands-on craft session, not a neat desk class.
After dewaxing, you’ll take your finished batik cloth home. That take-home element is a big deal for value: you’re paying for a souvenir you made, not a mass-produced item.
What’s included, and why $28 makes sense here
Price is listed at $28 per person, for a 3.5-hour experience.
Here’s what you get for the money:
- Hands-on creation of your own batik cloth
- Tools and equipment for the session
- Cloth, wax, and dyes needed for your work
- Herbal tea
That’s the core value equation. Many craft classes charge a low fee but expect you to buy materials separately. Here, the cost includes the materials and the specialist tools, which are exactly what you’d otherwise have to source on your own.
Also, the format matters. A small group capped at 10 means more attention and fewer waiting gaps. That’s time you’re effectively buying—quality instruction while you’re actively making.
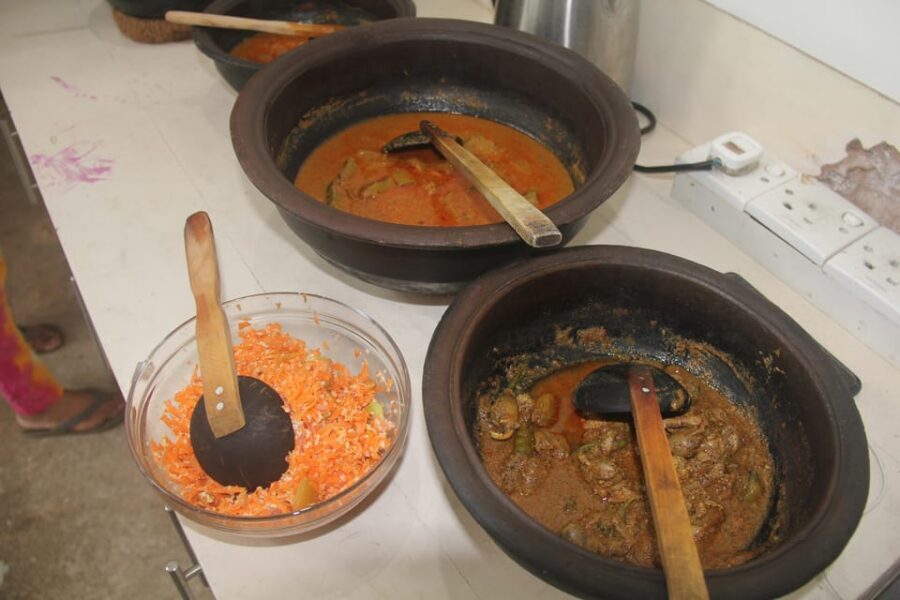
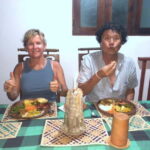
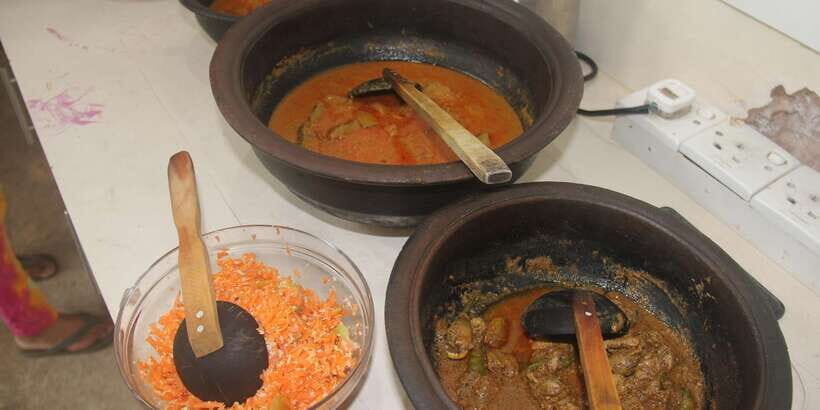
Food is where you should expect a mix. The listing specifically includes herbal tea, but multiple guests reported being served extra items like sandwiches or even a full Sri Lankan meal. Since that isn’t guaranteed in the basic info you’re given, I’d treat meals as a bonus, not a promise. If you care about lunch timing, ask ahead.
Who this workshop suits best (and who should skip it)
This is a great match if you:
- Want a creative activity that’s hands-on and not just sightseeing
- Like learning how things work, not only making something pretty
- Enjoy cultural experiences that happen in real homes and local studios
- Want a take-home souvenir with personal meaning
It’s not suitable for:
- Pregnant women
- People with back problems
If you’re considering it with a disability or mobility limitation, focus on the physical demands of seated wax work and standing close to tools. The workshop is meant for active participation.
Small-group energy: what you’ll notice in the teaching style
The most praised aspect across the experiences is the way the family teaches. Guests consistently describe Anuja and Manugi as patient, welcoming, and tuned in to each person’s pace.
In practice, that usually means:
- Step-by-step explanations in English
- Help when your first attempts aren’t perfect
- Encouragement to try your own design, while still offering templates/stencils if you want them
A few guests also mentioned extra touches like aftercare instructions for keeping the cloth looking good. That’s smart for you as a buyer, because batik doesn’t become meaningless after one week. The cloth becomes something you can enjoy longer.
A few practical tips so your cloth looks better
You’ll get the best results if you treat this like craft time, not casual doodling.
- Wear comfortable clothes, and consider a change of clothes. Dye and wax can stain.
- Take your time with lines. Crisp wax resist = cleaner pattern.
- If you want a personal touch, plan your design before you start applying wax.
- Don’t compare your first attempt to someone else’s. Everyone’s fabric and wax work turns out a bit different.
Also, if you’re hoping for language-learning fun, you might enjoy practicing a Sinhalese name-style detail. Several guests mentioned it as a standout moment.
Should you book Kandy Interactive Batik Workshop?
If you want one activity in Kandy that’s genuinely hands-on, I’d book this. For the price, you’re getting materials, tools, expert guidance, and a finished batik cloth you made yourself. That beats most souvenir shopping because it gives you a story tied to a process.
Book it if you like:
- Creative workshops with real technique
- Small-group attention
- Home-studio cultural experiences
Think twice if:
- You need a class with very little mess or no staining risk
- You’re sensitive to the physical demands of close-up craft work
- You’re short on time and don’t want to spend part of your day focused on one project
If you do book, I’d plan your route ahead for Ampitiya, bring an extra outfit, and show up ready to slow down. This is the kind of experience where the final cloth feels like proof that you were paying attention.
FAQ
Where does the workshop meet in Kandy?
It meets at 218/6 Thalapiyannawa Rd, Ampitiya.
How long is the batik workshop?
The duration is 3.5 hours.
How much does it cost?
The price is $28 per person.
What’s included in the price?
You get hands-on experience creating your own batik cloth, all tools and equipment, the cloth/wax/dyes needed, and herbal tea.
Is the workshop taught in English?
Yes, the instructor provides instruction in English.
Is it suitable for pregnant women or people with back problems?
No. It is not suitable for pregnant women or people with back problems.
What should I bring?
Wear comfortable clothes, and consider bringing a change of clothes in case paint or dye gets on what you’re wearing.